
This was my first official furniture renovation! I started this last summer and after that was inspired to do this
dresser and a coffee table.
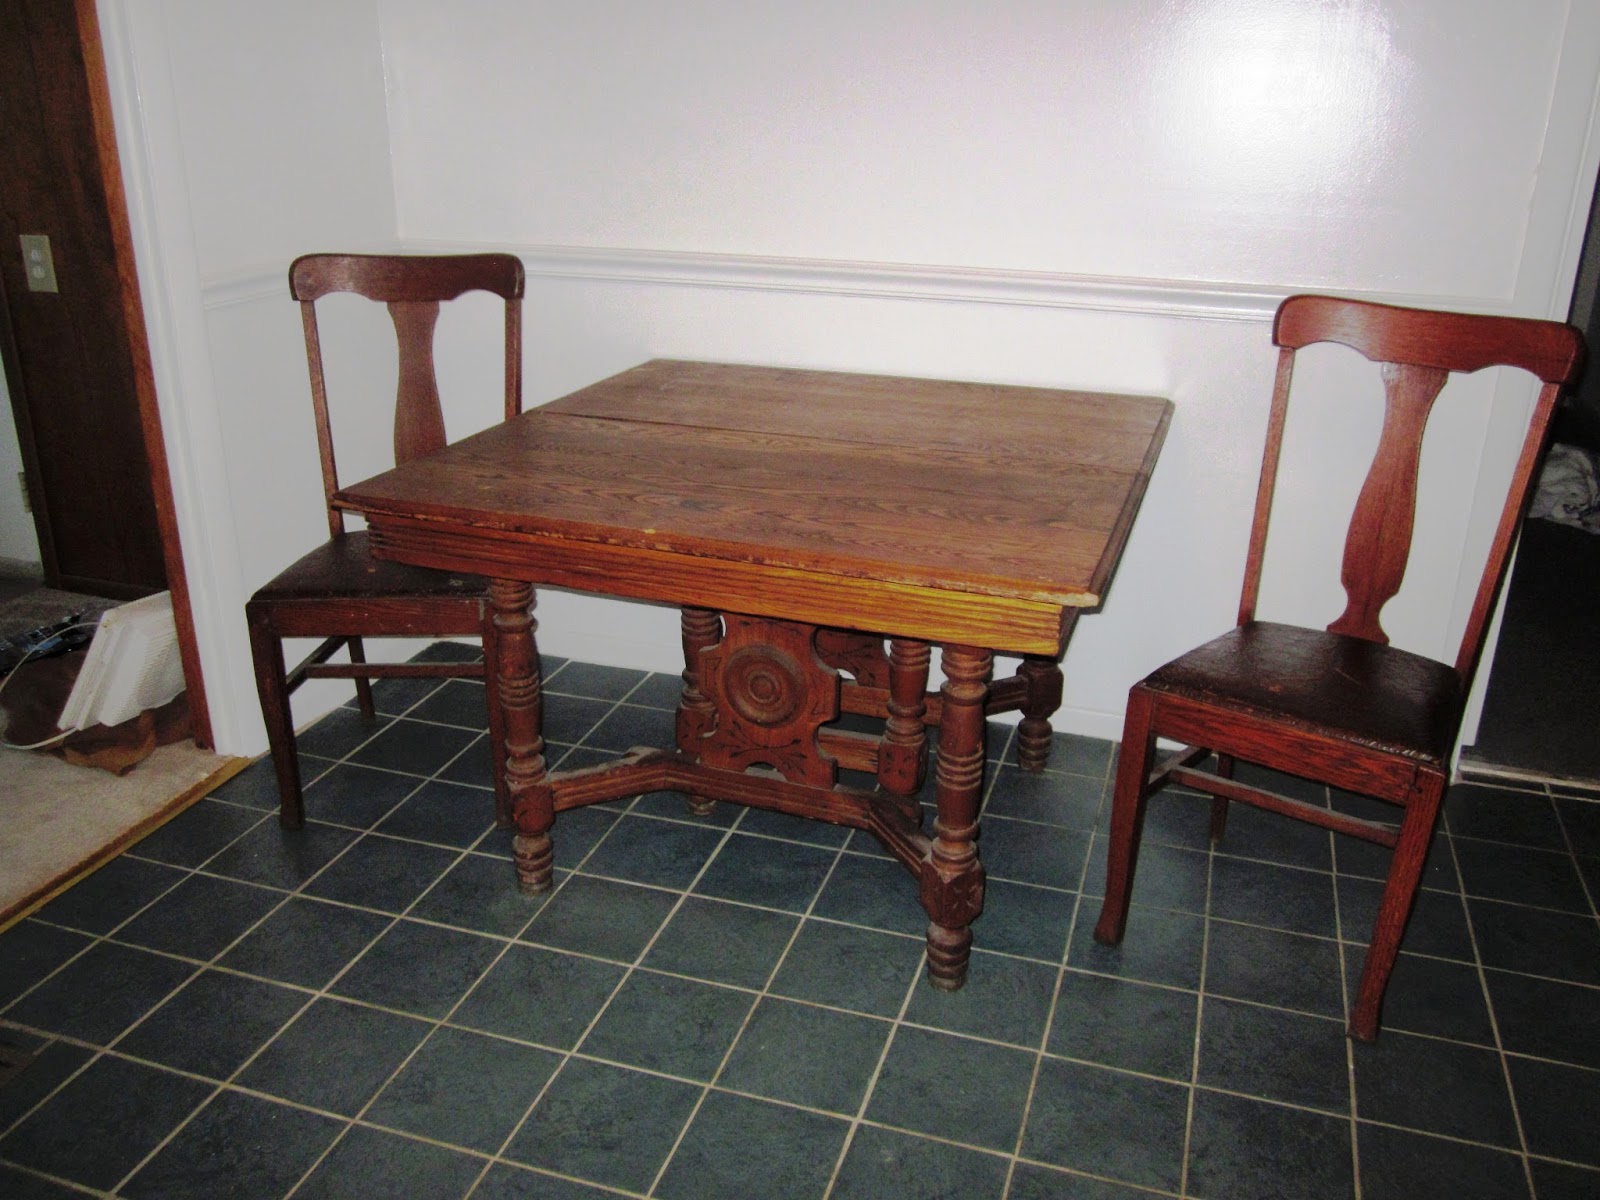
My grandma had this table up in her attic that had been in her family for a long time. It was a beautiful table, particularly the legs, but the table was in rough shape and I didn't love the color. We lived with it as is for almost a year.


I thought it worked well. The bottle says that you can leave it on for up to 24 hours but you need to wipe it off before it drys so I found that after 30 minutes was a good time for me. I stripped the chairs and table legs twice. I used a combination of steel wool and just plain paper towels.
 |
| Bunny helping me |

I decided to paint the table top since the wood was in worse shape and I wanted a two toned look. This picture is after primer and paint.

Instead of leaving the table top as is I roughed it up some so it matched the antique table legs better. I sanded the edges, sometimes down to the white primer and sometimes down to the wood.

I also added a brown glaze on the edges. I just bought this small bottle at A.C. Moore. A little goes a long way and I have used this on several projects! After glazing I added the polycrylic to protect the paint.


I put batting over top the cushions to make them more comfortable. My handy staple gun from my mom with flowers on it. The screws sticking out in the corners were so I didn't cover up the screw holes...I made that mistake before I realized I should do this.


Done! I used some Scotch Guard on the cushion covers to protect the fabric.

You can see on the below table legs the before and after of glazing them. I just rubbed a bit of the glaze on and then wiped it off quickly so it wasn't too much.

And finally the finished product!

And so you don't have to scroll to the top here is the before again.
The table was free and my total budget for renovating it was $100 between the fabric and all the supplies. This was still cheaper then buying a table this size even at Ikea!
It took me about a week to do but that was working on it a bit each day after work. The wood stripping was the most labor intensive part.
This was kinda a big project to take on for my first furniture renovation but it was good because I learned a lot of different things- stripping wood, painting wood, and reupholstering cushions. All of which have come in handy!
No comments:
Post a Comment