Our House

Our House

Tuesday, October 29, 2013

Birthday Number 26

Happy Birthday to my husband Pascal! We had a nice relaxing day off of work today with presents and lots of food of course. 


My first time making buffalo chicken dip

Cheeburger Cheeburger

Pink lights!
This past weekend we had family over to celebrate Pascal's birthday and to watch the Redskins game (He is a Raven's fan so the loss didn't ruin the party for him). We had lots of food, party hats, and even mustaches.

Cutest guys there


With me

With mom

Awesome cake by my mother-in-law


And the Birthday festivities are now over. Although it is still his birthday week which I am all about. I like birthday months as well :)

Friday, October 25, 2013

Pumpkin Painting Again

I got a second chance to decorate a pumpkin at work yesterday. We had a fall party and pumpkin decorating. The party was a big success with lots of yummy food and although not everyone participated in the pumpkin decorating it was a nice afternoon de-stresser.

I found two recipes I wanted to try on Pinterest and made pumpkin bars for our party and smores bars for my friend Kim's birthday. They both turned out really well. Although I did learn what the broiler feature on my oven is and that it can burn things quickly with my marshmallows.


As with my other pumpkin, I had a hard time deciding what to make with this one. But then I decided to do an owl which seemed like the obvious choice because, um, I have owl stuff everywhere (sweaters, lunchbox, pillow, cookie jar, statues, picture, vases...). I also thought the pumpkin that I had was a good shape for an owl. 


I googled different pictures of owls and then drew a rough sketch of what I wanted mine to look like. 


I thought about using different browns and blacks for my owl but picked some Halloweeny colors to make it more fun. 

I got a huge set of these paints from Home Depot on Black Friday last year for $10!
I drew my owl with a pencil first on my pumpkin and then painted it. It took a while to do all of the different parts and I needed two coats of paint. So about an hour for the whole thing. I like the end result and it was a lot of fun!


Monday, October 21, 2013

Pumpkin Decorating with Paint

Pumpkin carving intimidates me. I don't think I have ever really done it. Maybe I am just not good at cutting things? I am really bad at cutting up my own food at dinner...

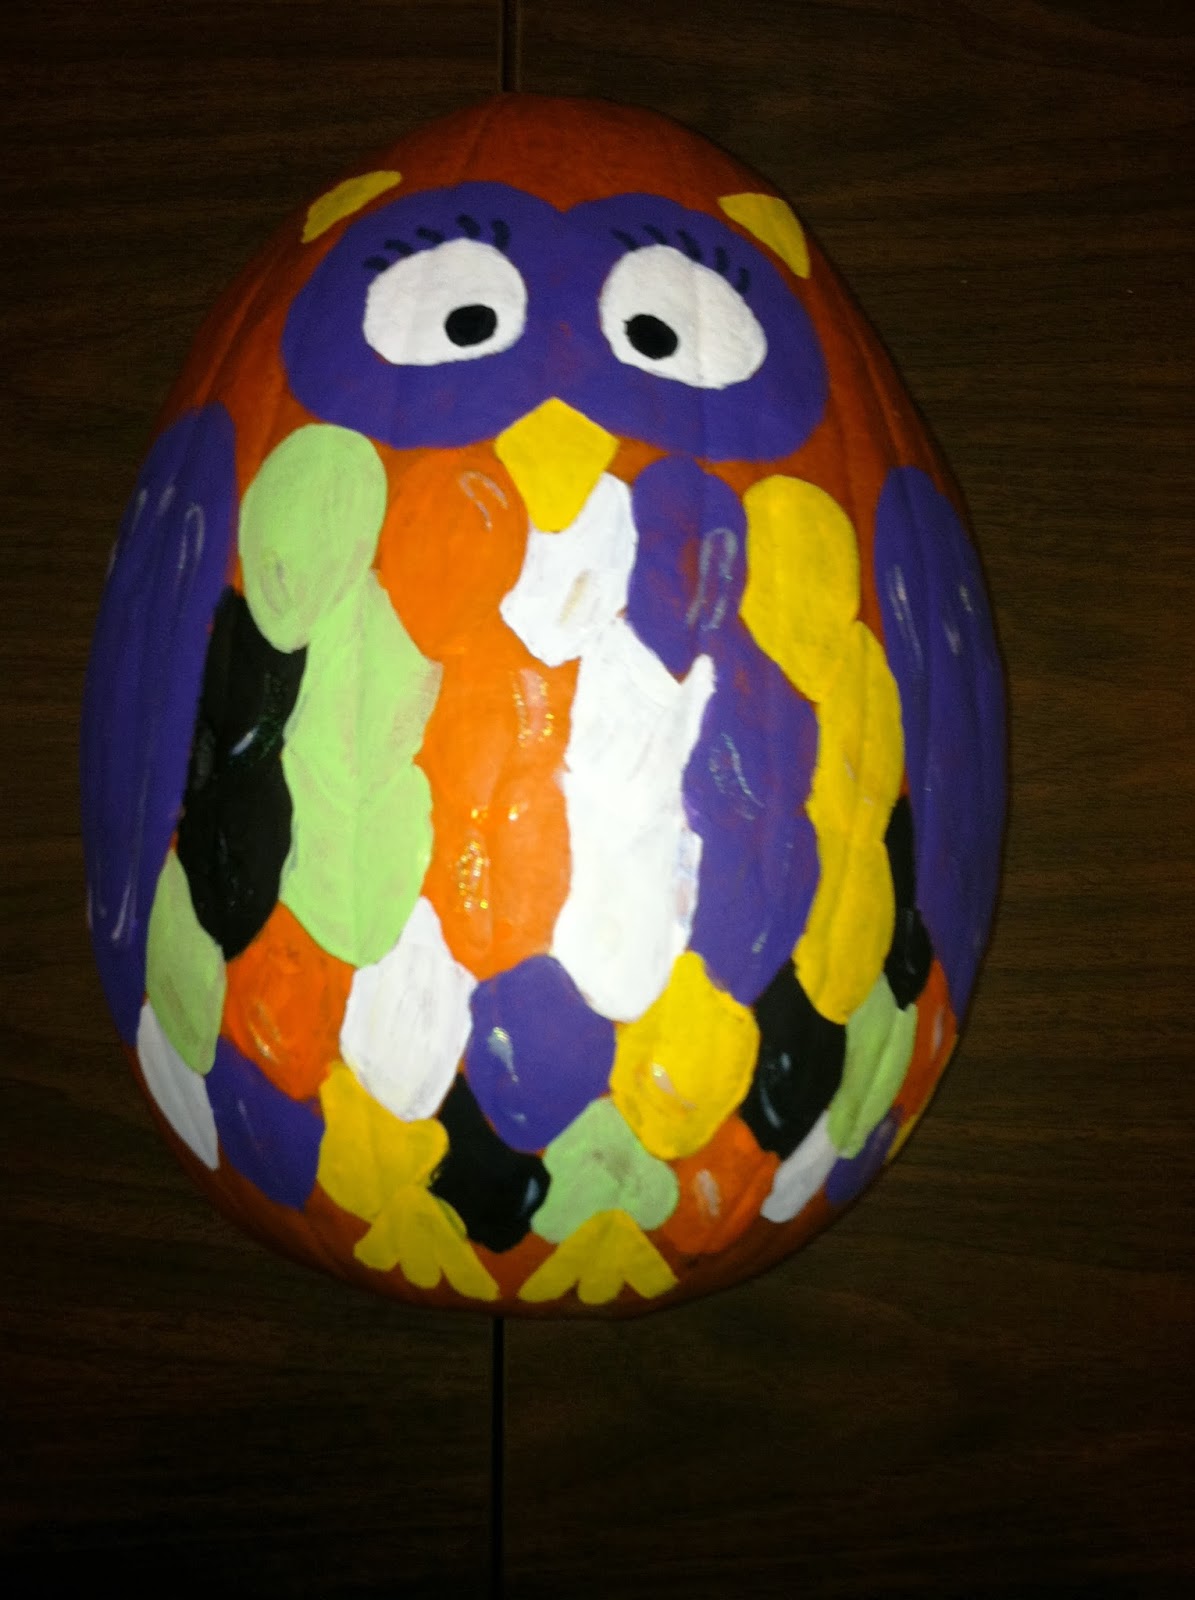
But the good news is that a lot of people paint their pumpkins now instead of carving. Here are our pumpkins that we made in 2012. Mine is the one on the left and Pascal's is on the right. Pascal is more of the artist so can free hand whatever but I tend to stick to basic shapes. I don't think we even had pumpkins our first year in the house, 2011. Terrible.


So I was excited to get started on our pumpkins this year. We have had them for almost two weeks sitting outside but just got around to painting them yesterday. The good news is though that they're not Halloween specific so we can keep them out through Thanksgiving. The other thing about painting pumpkins instead of carving is that they will last longer, till Thanksgiving, un-carved. 


I looked at a lot of pumpkins on Pinterest but there were so many choices and I couldn't decide what I wanted to do. So I ended up just picking some fall colors that I liked out of my craft paint collection and messed around with it till I was done. 


Pascal decided he wanted to paint a mustache. They have been the cool thing for a while now and they don't seem to be going away. Since he is an artist he was able to just free hand one without tracing anything. He used a sharpie at first and then a paint marker. He did stubble first just for fun and and then filled it in.


And that was it. Nice quick afternoon project while watching the Redskins win!


Now I have to think of another idea for a pumpkin decorating contest at work...

Friday, October 18, 2013

Laundry Room Storage

My mom has 13 children...12 of which mostly live at home. So she does a lot of laundry. Like all day every day. According to my dad, 30-35 loads a week. So naturally she always needs storage and laundry room organization. She emailed me pictures of two laundry storage options that she found on Pinterest from BeingBrook and Infarrantly Creative and asked if Pascal could make them and he so nicely did. She wanted 2 that were 5 shelves high. Pascal did not read any tutorials but just from looking at the picture she sent could tell how to make them. Its basically just a big box so its not too hard. My mom also gave us a laundry basket that she already had to measure how big the shelves should be. 

Pascal bought 3 pieces of 3/4 inch plywood which cost a total of $110 which was the only cost for this project. Plywood was more money that I thought but still cheaper than other options and $110 doesn't seem too bad for 2 gigantic shelves. 

Pascal worked on this in our "garage" (note the carpet haha). Below are the cut pieces ready to go. Pascal also sanded the wood with an electric sander to help improve the plywood somewhat.


 Pascal used Liquid Nails (I have been calling it Hard as Nails but I think that's a nail-polish...) Heavy Duty Construction Adhesive to glue the pieces together and then followed it up with a finishing nail gun. He also added some screws to be extra safe since this will be living with 12 children. Screws can split plywood since it has layers so he carefully pre-drilled the hole first and then put the screws in.


Make sure that your angle is right and your wood is level!


Gigantic. 6 feet tall.
Once assembled Pascal also decided to add some extra pressure treated wood to the bottom just for some extra waterproofing since it was going in a laundry room. To make the basket supports, he used some 1x4's that we already had and cut them down the middle. He attached them with Liquid Nails and screws. Pascal then primed the shelves with our oil based primer that we already had. So they are ready to be painted if my mom wants to but I also think they look fine with just the primer. I like how you can see the wood grain still.

I am happy that my mom likes them and big thanks to my husband. My mom was planning on ordering matching baskets from Amazon but she found enough around the house for now.

The model.


Wednesday, October 16, 2013

Posts Boxed Out

In this post I talked about our failed attempts at getting rid of lead paint that resulted in even better porch posts. However I never shared the after photos!

After cutting the wood to size and installing it, Pascal and I primed it with oil based primer, caulked all the cracks, and painted with exterior high gloss white paint. Once the wood was up the finishing steps were not hard! I am happy with the finished result. I think it makes a big difference from the blue posts that were too skinny. Although now the crisp white paint is making the rest of the house look dirtier...Still working on that. I would recommend buying the pre-primed wood planks for a smoother finish but we can live with the somewhat textured pressure treated wood.

I just like this picture because my plants are alive


You can see how our aluminum trim looks dingy now next to the posts